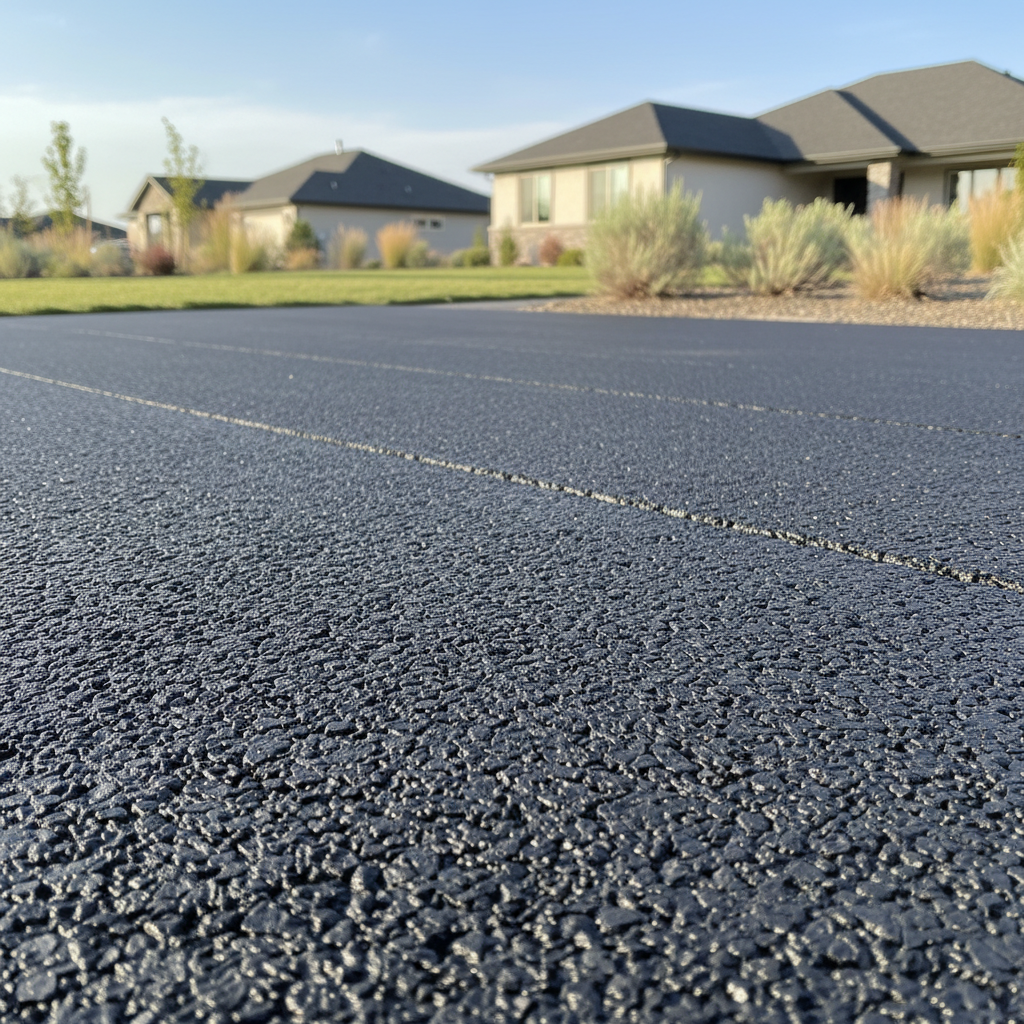
So, you're staring at your driveway, right? Maybe it's got cracks, potholes, or perhaps you're just putting in a brand new one. Asphalt paving can feel like a huge undertaking, and honestly, it is. But for homeowners, there are definitely parts of the process you can tackle yourself. Then there are the parts where you absolutely need to bring in the pros. Let's walk through what you need to know from beginning to end.
Before You Start: Planning and Prep Work
Planning is probably the most crucial step. Seriously, it's where you can save yourself a ton of headaches and money down the road. First, figure out exactly what you're doing. Are you just patching a few spots? Resurfacing an existing driveway? Or are you building a brand new one from scratch?
If it's a new driveway, you've got to think about drainage. Water is asphalt's worst enemy, no question. You really don't want it pooling up on your fresh surface. Consider your property's slope. Here in Richland, with our sometimes scorching summer heat followed by those winter freeze-thaw cycles, good drainage isn't just nice to have; it's essential. You'll need to make sure water flows away from your house and off the driveway. This might mean some grading. For simple grading, if you're comfortable with a shovel and a level, small areas are probably doable yourself. But for anything significant, especially if you're moving a lot of dirt, you're going to need some serious equipment and expertise.
Next, let's talk about the base. A good asphalt driveway is only as good as its foundation, period. You need a stable, well-compacted sub-base. For a new driveway, this means digging out the area, laying down a few inches of crushed aggregate (like gravel), and then compacting it thoroughly. This isn't just walking all over it; you need a vibratory plate compactor. You can rent these, and if you're physically up to it, you can definitely do this part yourself for a smaller driveway. Just make sure you're getting even compaction across the whole area. If your sub-base isn't right, your asphalt will crack and fail prematurely, no matter how good the top layer is.
During the Project: Laying the Asphalt
Okay, here's where the line for DIY gets pretty clear for most homeowners. Laying asphalt is not a weekend warrior project. I've seen people try it, and it rarely ends well. Asphalt needs to be laid at a specific temperature, usually somewhere around 250-300 degrees Fahrenheit. It cools fast, and you need specialized equipment to spread it evenly and compact it quickly before it sets up. We're talking about asphalt pavers, rollers, and a crew that really knows their stuff.
Trying to do this yourself means renting incredibly expensive equipment, coordinating hot asphalt delivery (which isn't something you just pick up at Home Depot, by the way), and then working under immense time pressure. The usual result? An uneven, poorly compacted surface that won't last. For a full driveway paving, you absolutely need to call a professional. This is where companies like Richland Asphalt Solutions come in. We've got the equipment, the experience, and the crew to get it done right, the first time.
However, for very small patches, like filling a pothole, you can buy cold patch asphalt at most hardware stores. It's not as tough as hot mix, but it's a decent temporary fix. You just clean out the hole, fill it with the cold patch, and compact it down. Again, a plate compactor or even just driving your car over it can help. But remember, this is a patch, not a permanent solution for widespread damage.
After the Paving: Curing and Maintenance
Once the asphalt is laid, whether by you (for a patch) or by a pro, it needs time to cure. For a new driveway, you'll generally want to stay off it for at least 24-48 hours, sometimes longer if it's really hot out. Don't park heavy vehicles on it for the first week or so. The asphalt is still hardening, and you can easily leave tire marks or indentations.
Maintenance is where you, the homeowner, really shine. Regular cleaning is a big one. Sweep off dirt, leaves, and debris. This prevents organic matter from breaking down and staining the asphalt, and it keeps water from getting trapped. If you spill oil or gas, clean it up immediately. Petroleum products are terrible for asphalt; they break down the binder that holds everything together.
You'll also want to keep an eye out for small cracks. Catching them early can save you a lot of money. Crack filling is a DIY-friendly task. You can buy asphalt crack filler at hardware stores. Clean out the crack thoroughly, then apply the filler according to the directions. This prevents water from seeping into the sub-base, which is what causes bigger problems like potholes when it freezes and expands.
Finally, consider sealcoating. This isn't something you do right after paving; you usually wait 6-12 months for new asphalt to fully cure. Sealcoating protects your driveway from UV rays, water, and chemicals, extending its life significantly. While you can buy DIY sealcoat kits, getting a professional to do it usually results in a much more even and durable application. They have the right spray equipment and experience to get a consistent finish.
So there you have it. You can definitely handle the planning, some of the base prep, small patching, and all the ongoing maintenance. But when it comes to the actual hot asphalt paving, trust me, leave that to the pros. Your driveway will thank you for it.